如何安装 Kali Linux
想要安装 Kali Linux 来检查渗透测试? 本指南通过几个简单的步骤向您展示如何做到这一点。
By纳姆迪·奥克克
卡利 Linux 是最流行的渗透测试发行版。 它配备了安全和取证工具,使其成为道德黑客的第一选择。
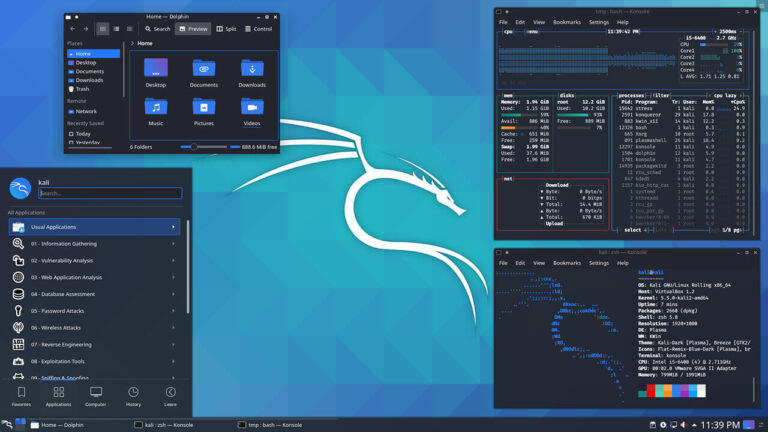
Kali Linux 由“Offensive Security”开发,是一个源自 Debian 的发行版,就像 Ubuntu 一样。 它带有 Xfce 作为其默认用户界面,该系统也可用于 Android 设备,如 Kali NetHunter。
默认情况下,安装包括 600 多个工具。 一些最受欢迎的包括 Nmap 端口扫描仪、用于无线网络的 Aircrack-ng、用于破解密码的 John the Ripper 和用于网络数据包分析的 Wireshark。
Kali Linux 安装很简单,可以通过以下三种方式进行:
A. 在 Windows 10 上
B. 在虚拟机上
C. 在 PC 或笔记本电脑上
在Windows 10上
Microsoft 提供适用于 Linux 的 Windows 子系统 (WSL) 作为在 Windows 10 机器上运行 Linux 操作系统的一种方式。 您将获得一个 shell 环境,并且可以使用系统的大部分工具,就好像您真的在 Linux 机器上一样。
虽然这很棒,但您应该注意,它不能替代具有直接硬件访问权限的标准 Kali 安装,因为 Windows 仍然存在一些限制。
然而,它有它的好处,例如易于安装和使用,不需要更改硬盘,并且对于程序员来说,它提供了一种快速测试 Linux 应用程序的方法。
在 Windows 上安装 Kali Linux:
1. 更新您的 Windows 机器,以确保您至少在运行 Windows 10 Fall creator's update(如果您想安装 WSL 1)或 Windows 10 May 2020 更新(如果您想要 WSL 2)。
2. 通过在 PowerShell 上以管理员身份输入以下命令,在 Windows 上启用 WSL 1 功能:
dism.exe /online /enable-feature /featurename:Microsoft-Windows-Subsystem-Linux /all /norestart
如果您更喜欢 WSL 2,请输入:
dism.exe /联机/启用功能/功能名称:VirtualMachinePlatform /全部/ norestart
3。 重启你的电脑
4. 单击开始菜单并启动应用商店。 从这里,只需搜索 Kali Linux 并像安装任何其他应用程序一样安装它。
5. 安装后,只需启动 Kali Linux,就像启动其他 Windows 应用程序一样享受。
在虚拟机上
在虚拟机上安装 Kali Linux 有两种方法。 第一种方法是下载 Kali ISO 镜像文件 并按照下一节中的步骤将其安装到虚拟机上(C. 在 PC 或笔记本电脑上完全安装)。
这里有三种类型的包:
1. 一个小型的 NetInstaller,让您在安装过程中下载所需的软件包(大约 500MB)。
2. 一个更大的 Live 镜像,默认安装 Kali(大约 3GB)。
3. 缺少 Live CD 功能但包含所有 Kali 软件包的主安装程序映像,非常适合离线使用(约 4GB)。
请注意,每个图像还提供 32 位和 64 位版本。
在虚拟机上安装 Kali 的第二种方法是下载预构建的 Kali 机器映像并将其导入到您的虚拟机软件中。 此方法适用于 Vmware 和 VirtualBox,它们各自的文件(32 位和 64 位)可在 进攻性安全
下载后,只需打开 VirtualBox 并选择“导入设备”。 如果您使用的是 VMware,请选择“打开虚拟机”。 接下来,导航到下载文件所在的文件夹并选择它。 然后单击“导入”并接受许可协议以开始导入。 您可以稍后调整机器的资源设置。
在 PC 或笔记本电脑上完全安装
对于完整的 Kali Linux 安装,您可以自由安装 32 位或 64 位系统,如果您使用主安装程序,也可以决定要安装的各个软件包。
它还为您提供了使用图形或基于文本的过程的选择,以及基于语音的安装和其他高级选项。
如何安装 Kali Linux
以下是安装 Kali Linux 的步骤。
步骤 1:准备安装介质
您的第一步应该是下载安装映像文件并从中制作安装程序。 下载您的 首选文件 从。 您还需要下载启动盘制作工具,例如 鲁弗斯 或类似的工具。 最后,您需要一个 4GB 或更高容量的拇指驱动器。
Kali 下载页面包括检查下载包真实性的方法。 首先执行此操作,然后启动 Rufus,插入 U 盘,在 Rufus 中选择 U 盘和 ISO 映像文件,然后单击开始。
等待程序完成启动磁盘的创建,然后再弹出驱动器并关闭它。
步骤2:开机
这是您在插入安装介质的情况下启动计算机的地方。 如果您拥有受 UEFI 保护的计算机,则可能需要禁用安全启动。 为此,请按启动时显示的键。 它可以是 F2、F10 或任何其他键,具体取决于您的计算机品牌。
在 UEFI 设置页面上找到“启动选项”或“启动设置”选项卡,然后关闭安全启动。 此外,请确保在引导顺序中 USB 位于硬盘之前。 UEFI 和 BIOS 系统都需要此引导顺序设置。 然后保存并退出设置页面。
第 3 步:基本安装设置
安装媒体启动后,系统将提示您安装菜单,具体取决于您下载的 ISO 映像。 在文本和图形安装类型之间进行选择。 然后在接下来的步骤中设置您的语言、位置和键盘布局。
您还需要设置计算机的主机名和域名。 这些步骤中的每一个都附带说明,因此您将始终知道自己在做什么。
最后,设置您的用户名、密码和系统时钟,以完成基本安装设置的这一步。
不要丢失或忘记您的用户名和密码。 把它们写下来,如果你必须的话。
第 4 步:磁盘准备
这是您设置硬盘的地方,它带有许多选项。 最简单的解决方案是使用完全干净的磁盘,因此您只需选择它的第一个选项并继续。
但是,如果您在磁盘上有想要保留的数据,Kali 为您提供了安装在最大可用空间或让您手动完成的机会。
磁盘分区和格式化是一个高级计算机主题。 因此,如果您出于学习目的而使用干净的磁盘安装 Kali,那么尝试手动选项不会有什么坏处。
第 5 步:安装软件包
下一步是网络设置(如果可用)。 否则,是时候安装软件包了。 请注意,NetInstaller 和 Live CD 安装映像需要网络连接才能安装所有工具。 否则,您将只获得基本安装。
但是,如果您下载了主安装程序映像,则可以选择所需的工具类型。 这包括 top10、default 和 large,以及 Xfce、GNOME 和 KDE Plasma 等不同桌面环境之间的选择。
第 6 步:安装引导加载程序
完成安装后,您仍然需要引导加载程序以在重新启动后启用系统启动。 GRUB 是这里首选的引导加载程序,它很容易安装。 但是如果你在同一台机器上有另一个操作系统,那么你应该将 GRUB 设置为双引导。
第 7 步:重新启动
而已。 安装引导加载程序后,您就完成了。 你现在只需要重启系统,如果一切正常,你就可以登录到新的 Kali Linux 操作系统了。
结语
你已经看到了 Kali 的强大和灵活。 安装系统的方法有很多种,您也可以根据自己的喜好自由定制。
Kali Linux 肯定不适合所有人。 但是,如果您对网络或在线安全感兴趣,或者您正在考虑成为一名道德黑客,那么上述任何安装方法都应该可以进一步帮助您。
相关文章